Showing posts with label chicken. Show all posts

Monday, August 31, 2020

Salsa Chicken Flautas

As you know, I am all about the super simple, easy-to-prep meal. It doesn't get much easier than what we call "Salsa Chicken." Dump a few things in the InstaPot, set it, and forget it!

Once it comes out of the InstaPot, there are so many dishes you can make with this shredded chicken, but our current favorite way to enjoy it is in the form of crispy flautas!


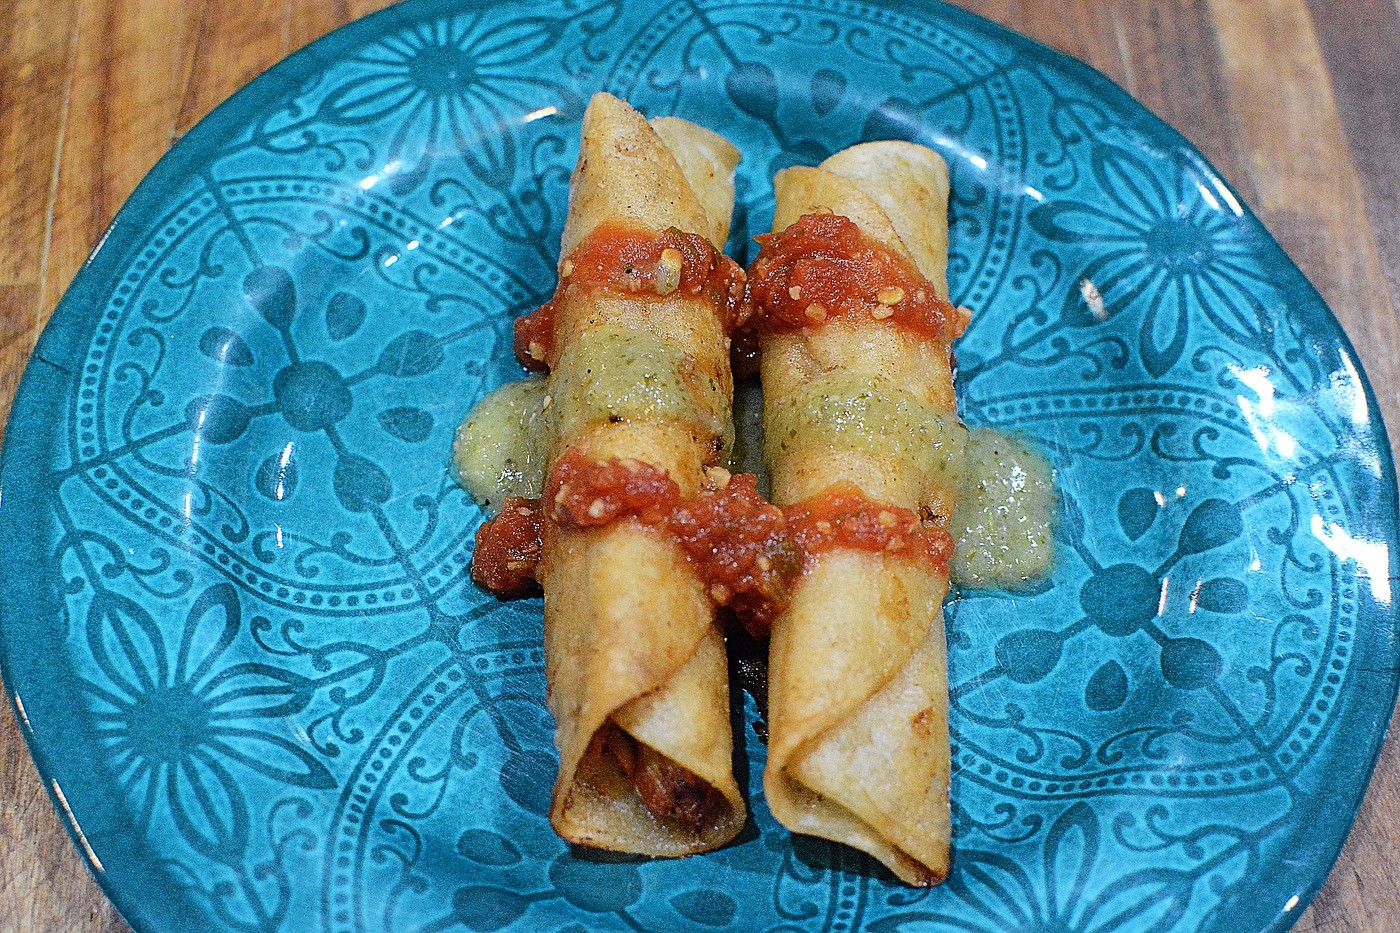
Salsa Chicken Flautas

Stuff You Need:
  • 3 chicken breasts or 4 chicken thighs, skinless
  • 1 - 15 oz. jar salsa
  • corn tortillas
  • canola oil
  • tooth picks
What To Do:
  1. Place chicken in bottom of InstaPot, top with entire jar of salsa and 1 cup water;
  2. Cook on high pressure for 25 minutes, natural pressure release for 15 minutes.
  3. Remove chicken and liquids from instapot and shred with 2 forks.
  4. Add enough oil to a cast iron pan to give you about .5" of oil and turn heat to medium. Oil is ready once it starts to slightly shimmer.
  5. Lightly fry the corn tortillas to soften them up - it takes only a few seconds, maybe 10-15 seconds per tortilla and it just softens them enough so they don't break when you roll them.
  6. Put about 2 Tbs of the shredded chicken on each tortilla, roll, and secure with a tooth pick. I like to roll out all of my flauta before I begin frying them so I can pay full attention to them while they cook.
  7. When you are ready, place your rolled flauta in the oil, seam side down, and fry about a minute per side, rotating until you reach desired crunchiness.
  8. Transfer cooked flautas to a plate lined with paper towels to drain excess oil.
  9. Serve with your favorite salsa, queso, or other dipping sauces and ENJOY!

This shredded chicken is so versatile. I like to use it for salads, enchiladas, to stuff empanadas or as a topper for tostones. Hope you enjoy this as much as we do!

Thursday, September 11, 2014

Orange Chicken

I guess I should start with lots of apologies. It's been AGES since my last post. And I have no real excuse. Sure, work is busy. But what else is new? I have been experimenting in the kitchen. Sometimes, it's just tweaks to a familiar dish, others it's a big leap of faith.

And such is the case with this particular dish.

You see ... I just love Asian flavors. And orange beef, chicken, and shrimp are some of my ALL TIME favorites. But typically, these meals are loaded with sugars. So I have stayed away from them except on special treat days. However, early last week, I was browsing a non-Paleo food blog (The Pioneer Woman) when I stumbled over an excellent-looking take on orange chicken.

But since it's more than a month before my birthday, I decided I would attempt to Paleo-ify her recipe (thus the leap of faith). And this is what I came up with:

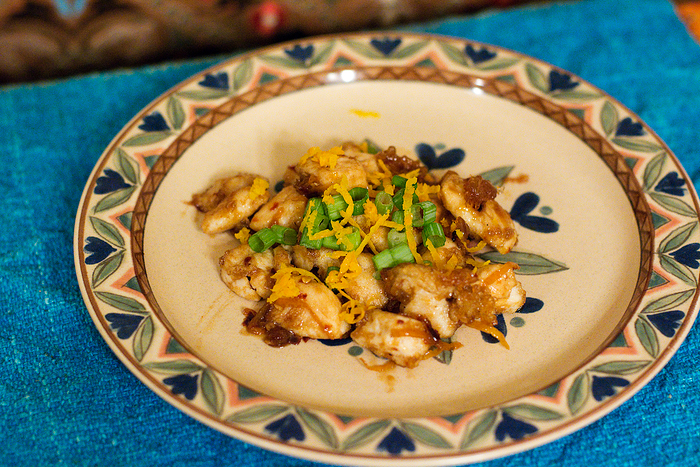
Orange Chicken

Stuff You Need:
  • 1 - 1.5 lbs chicken tenders, cut into bite-sized pieces
  • 4 egg whites
  • 2 Tbs tapioca powder
  • ½ cup orange juice
  • 1 Tbs coconut aminos (or soy sauce, if you are not strict Paleo)
  • 1 Tbs honey
  • 1 Tbs vinegar
  • ¼ tsp grape seed oil
  • ¼ tsp sea salt
  • ½ tsp crushed red pepper (or more to taste)
  • 1 clove garlic, minced
  • 1 tsp ground ginger
  • 1 tsp tapioca powder
  • zest of 1 orange
  • ¼ cup water
  • 2 whole green onions, chopped
What To Do:
  1. For the chicken: In a large bowl, whisk together the tapioca powder and egg whites with a fork until almost frothy, about 1 minute.
  2. Add the chicken to the mixture and allow to sit for 5 to 10 minutes.
  3. For the sauce: Put the orange juice, coconut aminos, honey, vinegar, grape seed oil, salt, crushed red pepper, garlic, ginger, and orange zest in a small nonstick skillet and whisk together.
  4. Heat 3-4 minutes until it starts to bubble and thicken.
  5. Whisk together the tapioca powder and 1/4 cup water in a small bowl or cup until well combined.
  6. Add 1 or 2 Tbs of the tapioca powder slurry to the sauce and mix well.
  7. Continue to stir while sauce thickens (for about 1 minute). NOTE: If sauce gets too thick, just add in another 1/4 cup water and whisk in. If sauce is too thin, add another Tbs of the tapioca powder slurry until it reaches a nice syrupy consistency.
  8. Heat about 2 inches of coconut oil in a heavy-bottomed pot until a deep-fry thermometer inserted in the oil registers 350 degrees F.
  9. In small batches, carefully drop a few pieces of chicken into the oil, stirring often for 2-3 minutes or until light golden.
  10. Remove from the oil and let the chicken drain on a plate lined with paper towels for 2 to 3 minutes.
  11. Once all of the chicken has been browned, drop them back into the oil for 1 more minute to really solidify the coating.
  12. Remove from the oil again and return to the paper towel lined plate to drain.
  13. Finally, toss the chicken in the sauce and serve immediately with orange zest and sliced green onions for garnish.


This is basically the recipe for Orange Chicken featured on the Pioneer Woman's site, with just a few substitutions. I traded tapioca powder for corn starch, honey for her brown sugar, grape seed oil for sesame oil, and coconut oil for peanut oil.

The results were AWESOME! We just LOVED this dish and you can bet it's one I'll be repeating in the very near future (I have a surplus of orange juice. That's my excuse and I'm sticking to it!

Wednesday, February 19, 2014

Tasty Tenders

In looking back over my most recent posts, it would seem that I spend a lot of my time trying to find "Paleo-ified" versions of the foods we've had to cut out of our diet.

In reality, we don't actually spend a lot of our time on these efforts, but with the onset of cold weather and an upper respiratory infection that I just can't seem to shake, I'll admit to craving more comfort foods than usual.

However, the goal in my cooking, both before and after the switch to a Paleo-ish diet, has been bold flavors. I have found that the key to keeping my eating in check is having truly flavorful foods on my plate. You might find that counter intuitive - surely if the food tastes awesome, it'll just entice you to eat more, right? I have found the opposite to be true. When the food bursts with flavor, I eat my portion and feel satisfied. But when the dish is lacking in flavor, I find myself searching the kitchen for something more to fill that void.

The recipe I am sharing today is one that truly satisfies. It's taken quite a few attempts to get this one right, but now it is a dish that the whole family enjoys!

These chicken tenders were inspired by Arsy over at Rubies and Radishes. She has so many inspiring recipes, I highly recommend that you click over and check them out for yourself! This recipe for Paleo Chicken Tenders was the first one I tried from her site but it has not been the last!

Tasty Tenders

Stuff You Need:
  • ¾ cup plantain chips, ground
  • ¾ cup tapioca flour
  • ½ teaspoon cayenne
  • ½ teaspoon dried oregano
  • 1 teaspoon onion powder
  • 1 teaspoon garlic powder
  • ½ teaspoon ground black pepper
  • ½ teaspoon sea salt
  • 2 eggs, lightly beaten
  • coconut oil for frying
  • 1 lb. organic chicken tenders
What To Do:
  1. Preheat the oven to 350F.
  2. Grind your plantain chips in a food processor until you reach the consistency of a course ground flour. You can keep grinding until it has a finer texture, but I personally like a more course grind.
  3. In a shallow bowl or pie pan, combine chips, tapioca flour and spices.
  4. In another shallow bowl, beat the eggs together.
  5. Dredge the chicken tenders one piece at a time in the flour & spice mixture. Shake off the excess flour, then dip the chicken tenders in the egg and then once again dredge them in the flour.
  6. Melt your coconut oil in a heavy skillet over medium heat and add the chicken strips. Don't crowd the skillet, it is OK to cook these in batches.
  7. Cook your tenders for 2-3 minutes on each side. This will give a nice crisp to the flour coating.
  8. Transfer the tenders from the skillet to a foil-lined roasting pan.
  9. Bake at 350F for 10-15 minutes, until no pink remains in the tenders.
  10. Remove from the oven and place on a plate lined with paper towels to drain off any remaining oil.
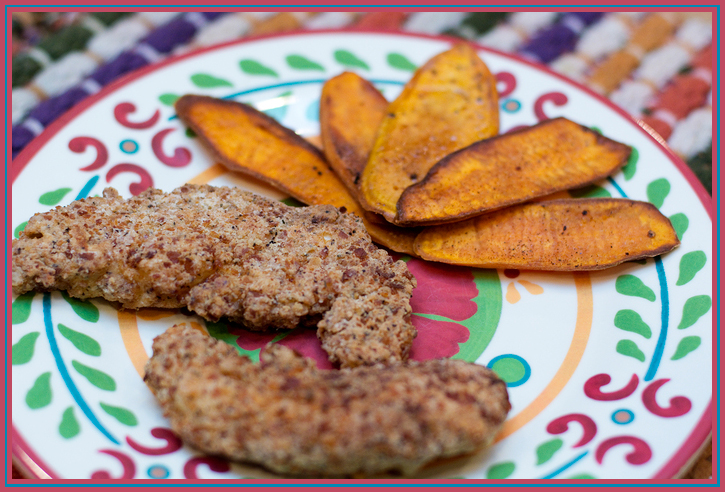
This recipe is pretty darn close to the original I found over at Rubies & Radishes. The big difference is that I don't finish cooking these in the coconut oil in the skillet. I tried multiple times to get them just right, but inevitably found that either the coating scorched (my heat was too high) or they tasted too oily (when I lowered the heat). So my compromise was to just kind of brown them in the oil in the skillet and then finish them off in the oven. This process only added a few minutes to the total prep time and the end result was well worth it! The strips were crispy and light tasting.

The spice mixture has a nice bold flavor, but don't be afraid of the cayenne. Wonder Boy is not a fan of spicy foods and he has given this his stamp of approval as-is.

I hope you and your family will enjoy them as much as we have!
Wednesday, October 16, 2013

Easy-Peasy Crock Pot Chicken

This is a true go-to meal. We all love it. It can be used in so many ways. It's inexpensive. And it's BEYOND easy to prepare! How can you go wrong with that?!

This recipe is taken directly from the A Year of Slow Cooking. Be sure to take a look because there are a TON of great crock pot recipes and you don't want to miss out!

So without further ado, check out the recipe for ....

Easy-Peasy Crock Pot Chicken

Stuff You Need:
  • 1 whole chicken, skinned (4-5 lbs)
  • 2 tsp kosher salt
  • 1 tsp paprika
  • 1 tsp onion powder
  • ½ tsp dried thyme
  • ½ tsp dried oregano
  • 1 tsp ground garlic
  • ½ tsp cayenne pepper
  • ½ tsp black pepper
  • pinch chili powder
  • 1 yellow onion, quartered
  • 4 whole garlic cloves

What To Do:
  1. Skin the chicken and remove neck, giblets, etc from the interior cavity.
  2. In a medium bowl, mix all of the dry ingredients except the onion and garlic cloves.
  3. Rub the spice mixture all over the bird, both inside and out.
  4. Place the bird breast side down in your crock pot.
  5. Insert the onion quarters and garlic into the interior cavity.
  6. Cover your crock pot, set the timer on low for 8 hours (or if you are in a hurry, on high for 4-5 hours).


And THAT folks, is all there is to this dish! If you plan in advance, you could prepare your bird the night before - skin it and coat with the spice mixture. Then in the morning all you have to do is pop it all in the crock pot. And when you come home from work, dinner will be ready and waiting!

It's not necessary though. I usually don't plan that far in advance and by the time I have the bird thawed, I generally need to get it right in the crock pot so it will be ready by the time dinner rolls around.

Also note, that while the spice mixture has both paprika, cayenne pepper, and chili powder, this is NOT a spicy dish. Wonder Boy really doesn't like spicy food (I don't know where he gets that trait as both of us prefer food that makes us sweat) and this is one of his all-time favorite foods. If you WANT a bit more kick to your chicken, I would double up on these 3 spices and maybe even stick a jalapeno in the cavity along with the onion and garlic.

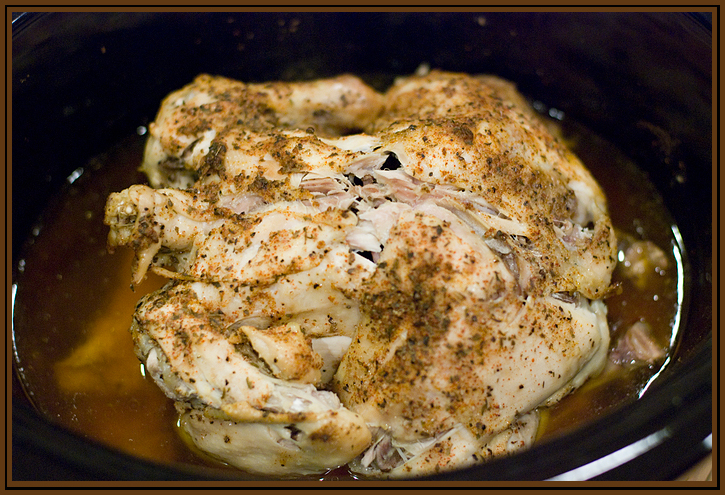
The chicken comes out moist and flavorful and falling right off the bone! In fact, it's a not the easiest thing to remove from the crock pot because it starts to fall apart from the moment you try to lift it. I usually don't bother. I'll grab what we need for that meal and then proceed to de-bone and shred chicken for storage once it has cooled.

We use this chicken as the base for so many meals. Wonder Boy likes it just wrapped up in a tortilla, fajita style. Wonder Dad prefers it on top of a big salad. As for me - I like it on its own, wrapped up in lettuce (slider style), or on top of tostones with a bit of salsa on top. It really is versatile and that is one of the main reasons this qualifies as one of my top go-to meals!

Enjoy!