Once it comes out of the InstaPot, there are so many dishes you can make with this shredded chicken, but our current favorite way to enjoy it is in the form of crispy flautas!
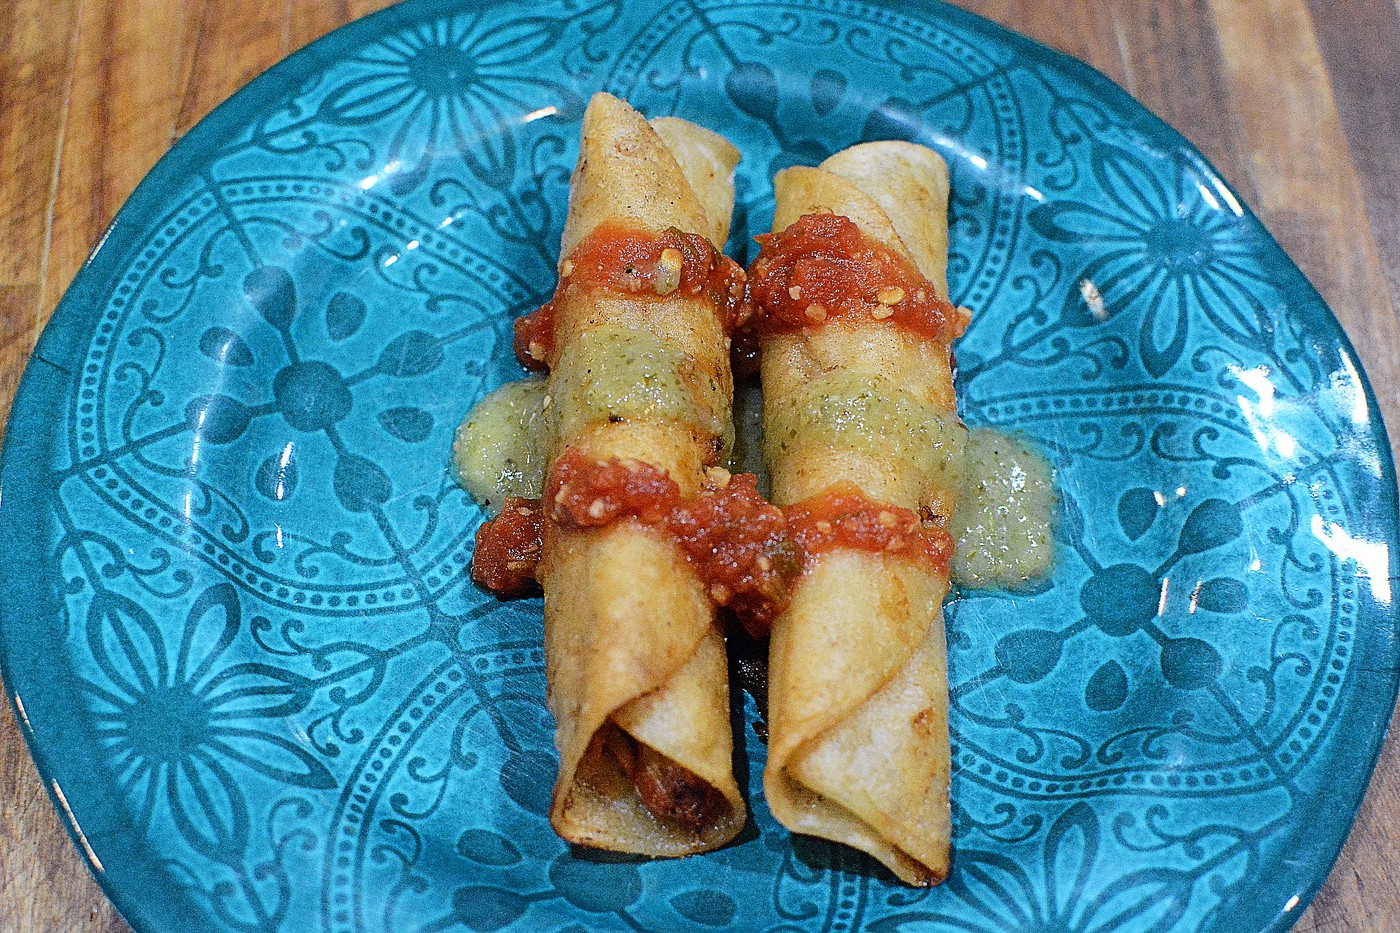
Salsa Chicken Flautas
Stuff You Need:
- 3 chicken breasts or 4 chicken thighs, skinless
- 1 - 15 oz. jar salsa
- corn tortillas
- canola oil
- tooth picks
- Place chicken in bottom of InstaPot, top with entire jar of salsa and 1 cup water;
- Cook on high pressure for 25 minutes, natural pressure release for 15 minutes.
- Remove chicken and liquids from instapot and shred with 2 forks.
- Add enough oil to a cast iron pan to give you about .5" of oil and turn heat to medium. Oil is ready once it starts to slightly shimmer.
- Lightly fry the corn tortillas to soften them up - it takes only a few seconds, maybe 10-15 seconds per tortilla and it just softens them enough so they don't break when you roll them.
- Put about 2 Tbs of the shredded chicken on each tortilla, roll, and secure with a tooth pick. I like to roll out all of my flauta before I begin frying them so I can pay full attention to them while they cook.
- When you are ready, place your rolled flauta in the oil, seam side down, and fry about a minute per side, rotating until you reach desired crunchiness.
- Transfer cooked flautas to a plate lined with paper towels to drain excess oil.
- Serve with your favorite salsa, queso, or other dipping sauces and ENJOY!
This shredded chicken is so versatile. I like to use it for salads, enchiladas, to stuff empanadas or as a topper for tostones. Hope you enjoy this as much as we do!